In this article:
Are you tired of struggling with a stiff, unyielding baseball glove? Do you dream of effortlessly snatching fly balls and making seamless catches? Look no further!
In this comprehensive guide, we will unveil a tried-and-true method to revolutionize how you break in your baseball glove.
Introducing the groundbreaking technique of “Breaking in a Baseball Glove in the Oven.”
Preheat your oven to a precise 350 degrees Fahrenheit. Ah, the sweet spot of oven temperatures. Once it reaches the desired heat, it’s time to take control of the process.
Remember, we’re not here to bake cookies but to mold your glove into the perfect shape. So, switch off that oven! We don’t need a constant temperature for this extraordinary glove transformation.
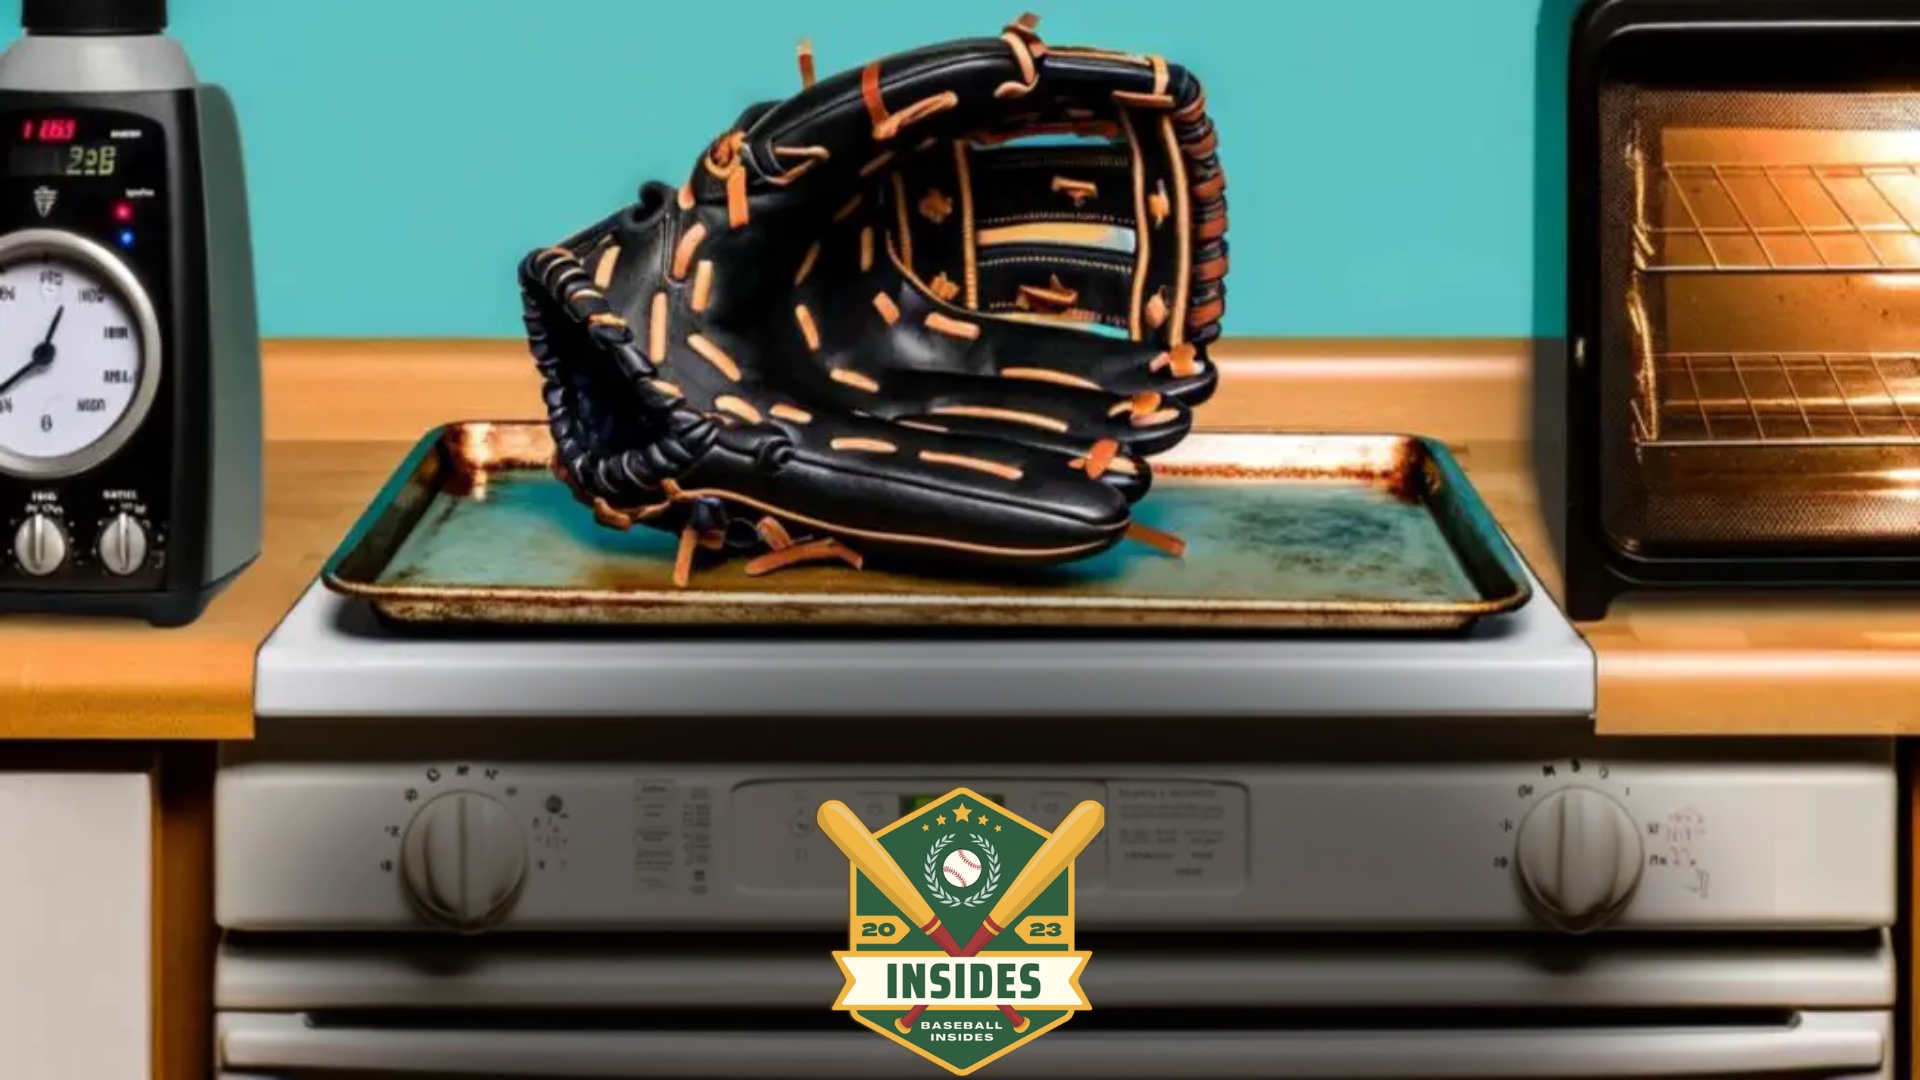
Imagine your trusty glove nestled on a cookie sheet, ready to undergo its metamorphosis. With anticipation building, carefully place your glove into the preheated oven.
In just 10 to 15 minutes, the magic will begin. Through heat and patience, your glove will become a pliable and dependable tool engineered specifically for your hands.
Get ready to step onto the field with a glove that feels like an extension of your hand. Join us as we unveil the secrets of breaking a baseball glove in the oven.
Strap in, players, because this game-changing knowledge will take you to the next level.
Preparing Your Baseball Glove for Oven Break-In
Before you embark on the exciting journey of oven break-in for your baseball glove, it’s essential to make sure you’re fully prepared.
A well-prepared glove sets the stage for a successful and smooth break-in process, ensuring your glove becomes a trusted companion on the field.
So, let’s dive into the crucial steps of preparing your baseball glove for the oven break-in method!
Cleaning and Conditioning the Glove
Like any respectable athlete, your baseball glove deserves a good cleaning before the big game—err, oven break-in. Remove any dirt, grime, or sweat accumulated during your previous baseball adventures.
Gently wipe the glove’s surface using a mild soap or leather cleaner. Once clean, allow it to air dry completely.
Now that your glove is squeaky clean, it’s time to show it some love with a conditioning treatment. Apply a small amount of high-quality leather conditioner to the glove, massaging it with your hands.
This will help keep the leather supple and prevent it from drying out during the intense oven break-in process.
After you’ve learned the process of breaking in your baseball glove in the oven, it’s essential to also keep your equipment in top shape. Discovering how to clean a baseball bat not only maintains its appearance but can also improve its lifespan and performance on the field.
Inspecting for Any Damage or Wear
Your glove may have seen its fair share of action on the field, and it’s important to check for any wear and tear that could worsen during the oven break-in. Examine the stitching, laces, and webbing for any signs of damage.
If you notice loose threads, frayed laces, or weak spots, consider getting them repaired before subjecting your glove to the oven’s heat.
Identifying the Glove’s Break-In Needs
Each baseball glove has its own personality and break-in requirements. Some gloves may feel stiff and rigid, while others already have some flexibility. Take a moment to assess your glove’s condition and determine its needs.
Is it a brand-new glove straight out of the packaging, or has it been sitting in the corner of your closet, longing for action? Understanding your glove’s unique characteristics will help you tailor the oven break-in process to its needs.
Safety Precautions When Using the Oven
Ah, the oven—the magical tool that can turn raw ingredients into mouthwatering delights. But when it comes to using the oven to break in your baseball glove, we need to exercise caution and ensure both your safety and the well-being of your precious glove.
Let’s take a moment to review some essential safety precautions before you dive headfirst into the oven break-in process.
Important Safety Measures to Follow
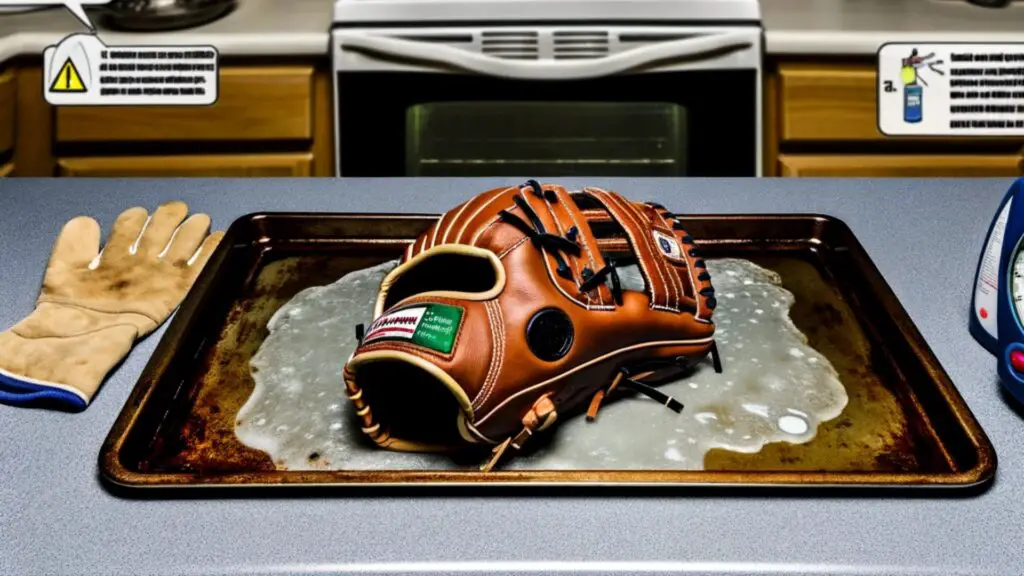
Safety first, my friend! Always remember to prioritize your well-being when dealing with any heat-related procedures. Wear protective oven mitts or gloves to shield your hands from potential burns.
Yes, we want to break in the glove, not your fingers! Additionally, ensure a heat-resistant surface, like a baking sheet or tray, to place your glove on during the oven break-in.
Choosing the Appropriate Oven Setting
Not all ovens are created equal, and finding the right setting for the break-in process is key. Consult your oven’s user manual to determine the recommended temperature for heating leather items.
Generally, a low-temperature setting, around 200-225 degrees Fahrenheit (93-107 degrees Celsius), is safe for the oven break-in method. Avoid high temperatures, leading to unintended consequences like scorching or deforming your glove.
Common Mistakes to Avoid
Oh, the pitfalls of oven break-in! Let’s make sure you steer clear of them. One common mistake to avoid is leaving your glove unattended in the oven. Stay vigilant and monitor it throughout the process to prevent any mishaps.
Also, resist the temptation to crank up the heat to expedite the break-in. Slow and steady wins the race here. Rushing the process can lead to unintended damage and a less-than-ideal outcome for your glove.
Step-by-Step Process of Oven Break-In
My fellow glove fans, it’s time to dive into the exciting and transformative step-by-step process of breaking in your baseball glove using the oven’s power.
Get ready to witness your trusty glove morph into a personalized extension of your hand. Here’s your front-row seat to the oven break-in extravaganza!
Step 1: Preheating the Oven
Let’s preheat the oven to the Goldilocks temperature for our glove. Set the oven to a low temperature, around 200-225 degrees Fahrenheit (93-107 degrees Celsius). Give it time to warm up, spreading the heat evenly throughout.
Step 2: Applying Conditioner or Oil to the Glove
Remember that conditioner or oil you used earlier? Now, it’s time to put it to work. Gently apply a thin layer of conditioner to the glove’s surface, focusing on the areas that need the most flexibility.
Massage it in, giving your glove a well-deserved spa treatment. This will help the leather absorb the heat evenly and accelerate the break-in process.
Step 3: Placing the Glove in the Oven
With your glove well-conditioned and the oven warmed up, it’s showtime! Place your glove on a heat-resistant surface, like a baking sheet, ensuring it’s flat.
This will allow the heat to envelop your glove and work its magic. Bid farewell to your glove, knowing that it’s about to transform never before.
Step 4: Monitoring the Glove’s Progress
Keep a watchful eye on your glove as it basks in the gentle warmth of the oven. Remember, patience is key here. Depending on your glove’s condition, the break-in process can take 15 to 30 minutes. Take this time to mentally prepare for the future glory your glove will bring on the field.
Step 5: Removing the Glove from the Oven
Ding! Time’s up! Carefully remove your glove from the oven using oven mitts or gloves to protect your hands from the residual heat. Take a moment to appreciate its newly acquired flexibility. But hold your horses—we’re not done just yet.
Step 6: Cooling and Shaping the Glove
After the oven adventure, it’s time for a cool-down session. Allow your glove to cool naturally, resisting the urge to speed up the process. Once it’s cooled down, it’s time to shape your glove to perfection.
Use your hands to mold and manipulate the leather, ensuring it conforms comfortably to your hand. Flex those fingers and let your glove know it’s ready to tackle any baseball challenge.
Step 7: Applying Additional Conditioner
To seal the deal and keep that newly achieved flexibility intact, apply another thin layer of conditioner to your glove. This will provide extra moisture and nourishment, keeping the leather in top-notch shape for countless games.
While focusing on your glove’s condition, don’t forget the importance of your bat’s grip. Understanding how to regrip a baseball bat is crucial for maintaining the best control and comfort during your swings. This simple maintenance can make a significant difference in your batting performance.
Post-Oven Break-In Care
Now that you’ve taken your baseball glove on a thrilling oven break-in adventure, it’s time to ensure its long-lasting performance and maintain that perfect fit you’ve worked hard to achieve.
Like a star athlete needs post-game care, your glove deserves some post-oven break-in TLC.
Let’s delve into the essential steps of post-oven break-in care to keep your glove in top-notch condition.
Cooling and Shaping the Glove
Remember how we cooled and shaped the glove right after the oven? Well, it’s time for a little encore. Take a moment to cool down your glove, allowing it to return to its natural state. Then, put those shaping skills to work.
Gently flex and mold the leather to ensure it conforms comfortably to your hand. This extra shaping session will reinforce the customized fit you achieved during the oven break-in.
Applying Additional Conditioner
To keep your glove in prime playing condition, it’s important to nourish it regularly. Apply a small amount of conditioner to the glove, massaging it with your hands.
This will help maintain the leather’s suppleness, preventing it from drying out and becoming stiff over time. Think of it as giving your glove a rejuvenating spa treatment after its intense workout in the oven.
Repeating the Process if Necessary
Sometimes, achieving the perfect break-in requires a little extra effort. If your glove needs further breaking in, don’t be afraid to repeat the oven break-in process. However, exercise caution and assess your glove’s condition before deciding on a second round.
Remember, it’s all about finding that sweet spot of flexibility and comfort that suits your playing style.
Storing Your Glove Properly
When your glove is not in action, it deserves a cozy and safe spot to call home. Find a cool and dry place to store your glove, away from direct sunlight or extreme temperatures.
Use a glove bag or wrap it in a soft cloth to protect it from dust and scratches. Taking good care of your glove off the field ensures its longevity and continued performance.
FAQs
Can You Break in Baseball Gloves in the Oven?
Yes, it is possible to break in baseball gloves in the oven. However, it is important to exercise caution and follow proper instructions to avoid damaging the glove.
How Do You Put a Baseball Mitt in the Oven?
To put a baseball mitt in the oven, follow these steps: Preheat the oven to a low temperature, around 150-175 degrees Fahrenheit. Place the mitt on a baking sheet or aluminum foil, ensuring it is flat and open.
Put the mitt in the oven for approximately 5-10 minutes or until it becomes warm and slightly pliable.
Keep a close eye on the mitt to prevent overheating or damage. Once warmed, remove the mitt from the oven and apply a small amount of glove conditioner or oil to the leather. Gently flex and shape the mitt to your desired fit while still warm.
Finally, allow the mitt to cool naturally, and repeat the process if necessary. Remember to read and follow the manufacturer’s instructions and exercise caution when using this method.
How Do You Cook a Baseball Glove?
I’m sorry, but cooking a baseball glove is not recommended or safe for breaking it in. The high temperatures involved in cooking can cause damage to the glove’s leather, stitching, and overall structure.
It’s best to use alternative methods like playing catch, using glove oil or conditioner, or simply wearing the glove during practice to break it in gradually.
Conclusion
In conclusion, breaking in a baseball glove in the oven can be a game-changer for any player seeking that perfect fit and feel.
While it may sound unconventional, this method has been tried and tested by countless athletes and has proven remarkably effective.
Remember to take proper precautions, such as using low heat and monitoring the process closely. Utilizing the oven’s gentle warmth, you can expedite the breaking-in process and mold your glove to perfection.
So go ahead, give it a shot, and witness the transformation of your stiff new glove into a supple, reliable companion on the field. It’s time to step up your game and unleash your full potential with a glove that feels like an extension of your hand.
In addition to taking care of your baseball gear, you might wonder about its versatility, such as can you use a baseball bat for softball. It’s a common question among players who enjoy both sports and are looking to maximize their equipment use.