In this article:
Whether you’re a seasoned athlete or just starting out in baseball, one thing remains constant—the importance of a well-broken-in baseball glove.
A brand-new glove can feel stiff and uncomfortable, affecting your game and potentially causing unnecessary errors.
Thankfully, there’s a simple and effective method for breaking in your baseball glove: using shaving cream.
In this article, we’ll delve into the secrets of this unconventional yet highly effective technique, guiding you through the step-by-step process of breaking in your baseball glove with shaving cream.
We’ll explain the science behind it, discuss its benefits, and provide practical tips and tricks to ensure optimal results.
By following this proven method, you’ll transform your rigid glove into a supple, game-ready tool that molds perfectly to your hand, enhancing your performance and overall fielding experience.
So, let’s dive in and unlock the magic of breaking in a baseball glove with shaving cream.
Preparing the Glove for Break-In
Before we dive into the exciting world of breaking in your baseball glove with shaving cream, it’s crucial to lay a solid foundation.
Think of it as prepping your glove for the ultimate transformation. So, let’s gear up and get your glove game-ready!
Proper Glove Sizing and Fit
First, you need to ensure your baseball glove fits like a glove (pun intended!). A glove that’s too big or small won’t give you the desired performance.
Take the time to measure your hand and find the perfect size for you. Remember, a snug fit is key for optimal control and comfort on the field.
Selecting the Right Shaving Cream
Now, let’s talk about the superstar of our break-in process – shaving cream! Not just any old shaving cream will do the trick.
Look for quality, foam-based shaving cream without any fancy additives. Avoid gels or creams with excessive moisturizers, as they can make your glove slippery.
The right shaving cream will work wonders in softening and conditioning the leather.
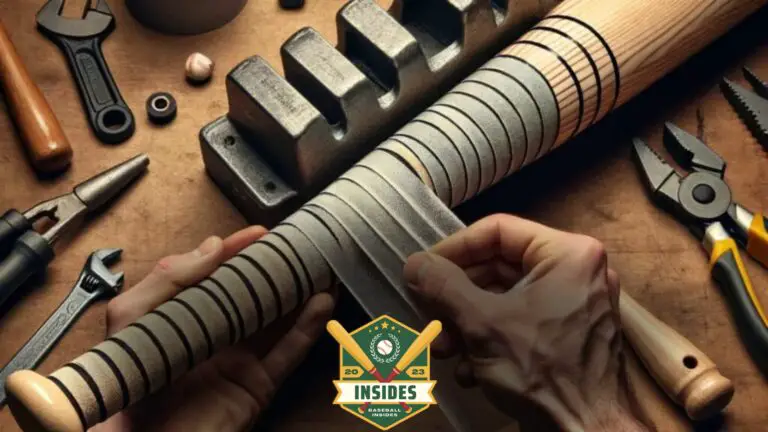
Firstly, for those looking to refresh their bat’s grip for a better hold and control, understanding “How to Regrip a Baseball Bat?” is crucial. A newly regripped bat not only enhances your swing but also boosts your confidence at the plate.
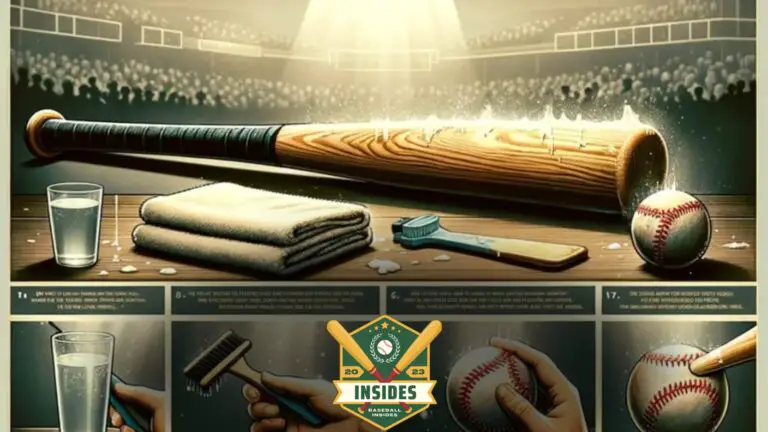
Gather Necessary Materials
You’ll need a few additional items to ensure a smooth break-in journey. Here’s your glove-prep toolkit checklist:
- Soft, clean cloth: Perfect for wiping away any dirt or debris from your glove.
- Mild soap or leather cleaner: Gentle cleaning agents remove stubborn grime without damaging the leather.
- Clean water: Essential for rinsing off cleaning agents.
- Towel: To pat your glove dry after cleaning.
- Leather conditioner: A secret weapon for extra softness and longevity.
- Optional extras: Glove mallets, balls, or any other tools for shaping and forming.
Now that we have everything ready, it’s time to dive into the nitty-gritty of breaking in your baseball glove with shaving cream.
Step 1: Cleaning the Glove
Alright, my fellow glove enthusiasts, it’s time to roll up our sleeves and give that glove a well-deserved spa day.
We’re about to bid farewell to dirt, grime, and any unwanted guests that may have taken up residence in your trusty mitt. Get ready to witness a glove makeover like no other!
Removing Dirt and Debris From the Glove
First, let’s tackle the unsightly dirt and debris that may have accumulated on your glove. Grab a soft, clean cloth (bonus points if it’s fluffy like a cloud) and gently wipe away any surface dirt. Show that glove who’s boss and make it sparkle!
Gentle Leather Cleaning Techniques
Now that the visible dirt is history, it’s time to pamper your leather companion. Mix a mild soap or leather cleaner with some clean water to create a gentle cleaning solution. Take your soft cloth and dip it into this heavenly elixir.
Massage the cleaning solution onto the glove with gentle, circular motions, paying special attention to any stubborn stains or discolorations.
Drying the Glove Properly
Once your glove looks fresh and clean, it’s time to give it a chance to dry off. Grab a cozy towel and lovingly pat your glove dry. Avoid rushing this process with a hairdryer or any other heat source.
Remember, patience is a virtue in the world of glove break-ins. Allow your glove to air dry naturally, rewarding you with supple perfection.
Step 2: Applying Shaving Cream
Welcome to the indulgent part of our glove break-in adventure! We’re about to give your glove a spa treatment it will never forget.
Prepare to pamper that leather and watch it transform before your eyes!
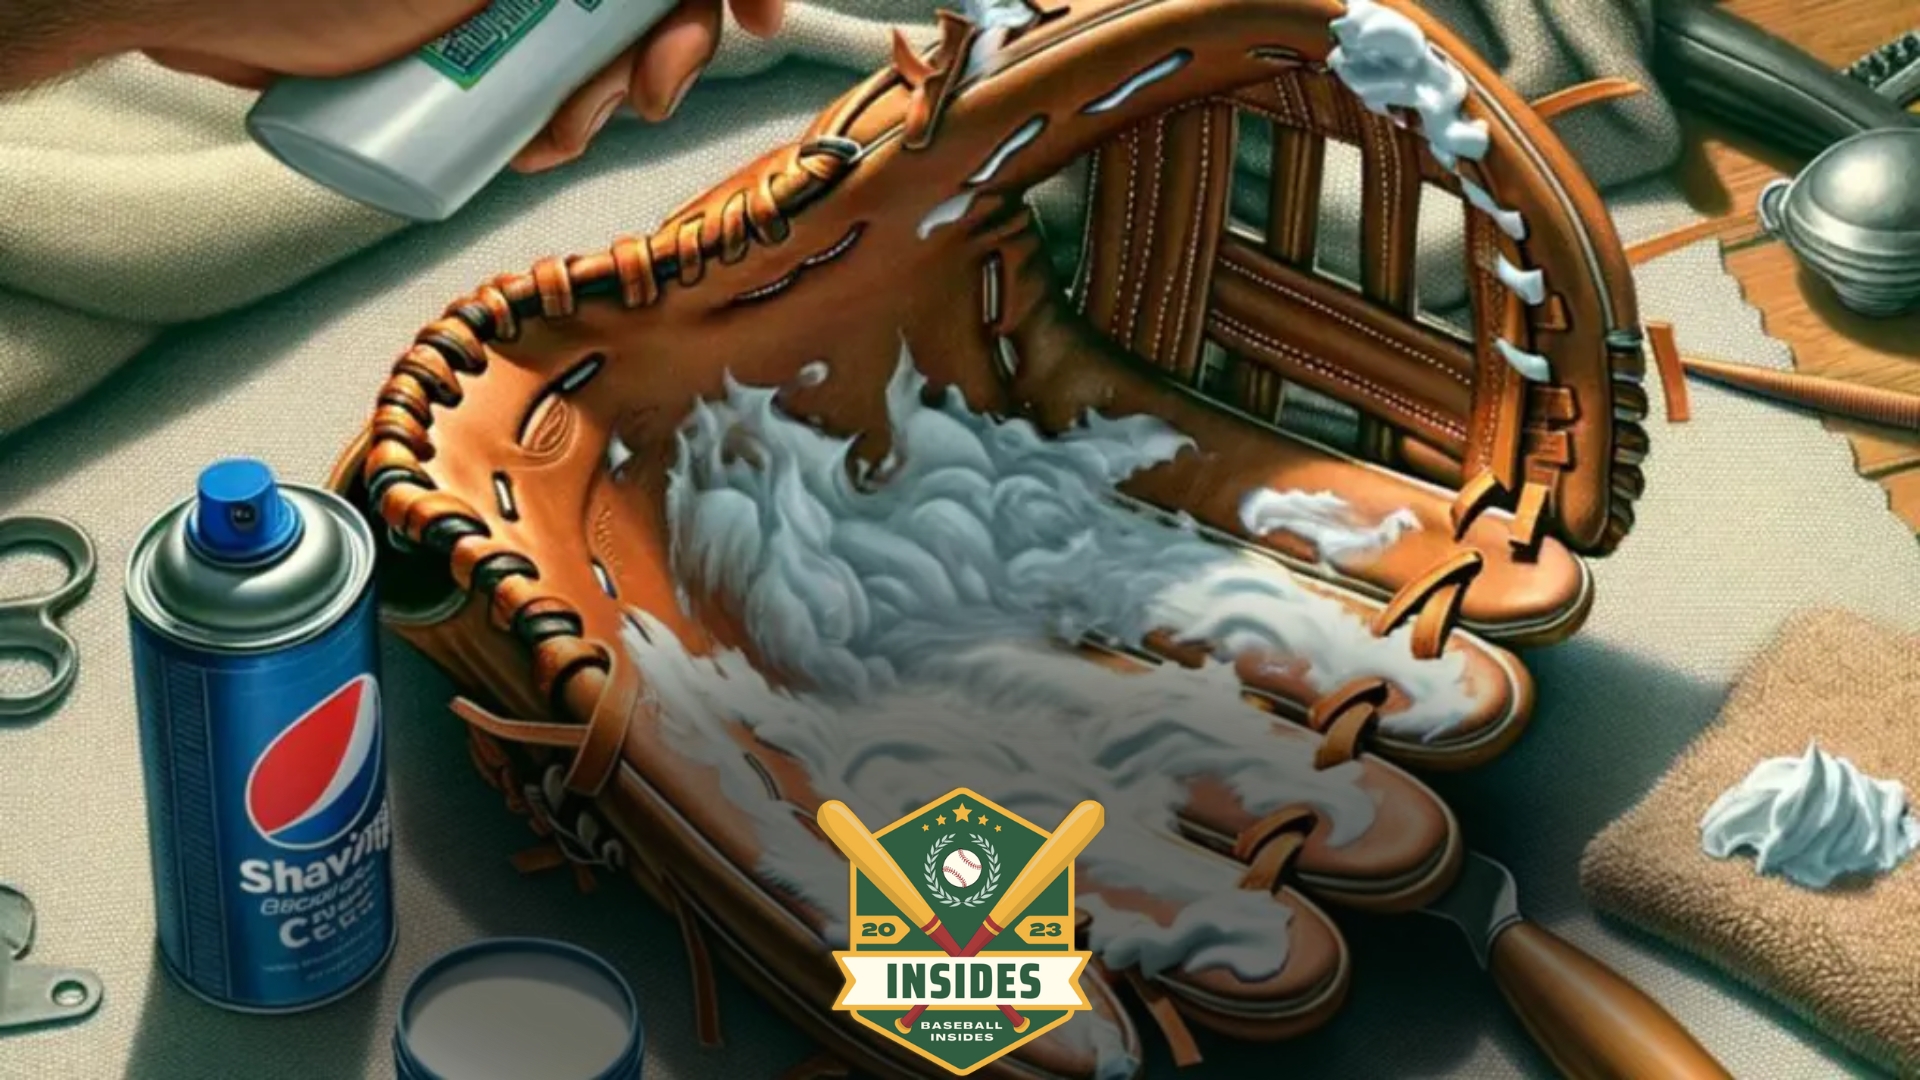
Applying the Shaving Cream to the Glove
Now it’s time to bring out the show’s star – the shaving cream! Take a dollop of that creamy goodness and spread it onto your glove like an artist with a brush.
Cover every nook and cranny, giving your glove a generous coat of luxurious lather. Imagine your glove sighing in delight as it basks in this velvety embrace.
Spreading the Cream Evenly
Once the shaving cream is delicately resting on your glove, it’s time to spread the love. Use your fingertips to gently massage the cream into the leather, allowing it to seep into every fiber.
Enjoy the sensation as your hands glide effortlessly over the glove, leaving a trail of silky smoothness in their wake. Give your glove the attention it deserves, and it will reward you with unparalleled performance.
Avoiding Excessive Application
As tempting as it may be to drown your glove in a mountain of shaving cream, remember that a little goes a long way.
Excessive application can leave your glove feeling greasy and hinder its break-in process.
So, exercise restraint and find the perfect balance. Trust me, your glove will thank you for it!
Step 3: Working the Glove
It’s time to unleash your inner glove whisperer and give your baseball glove the workout of a lifetime! Get ready to flex, bend, and massage that leather into submission.
We’ll create a glove that fits your hand like a custom-made masterpiece.
Identifying the Areas That Need Extra Attention
Every glove has its stubborn spots, requiring a little extra TLC. Take a moment to examine your glove and identify any stiff or resistant areas.
Is the thumb giving you trouble? Perhaps the fingers need some coaxing? Whatever the case, make a mental note of these troublemakers, as we’ll give them special attention.
Flexing and Bending the Glove
Now, it’s time to dance with your glove. Hold it in your hands and begin flexing and bending the leather. Gently work those stiff areas, encouraging them to loosen up and become more pliable.
Imagine the leather responding to your touch, supple and accommodating to your every move. Feel the excitement as your glove shapes and molds itself to your hand.
Massaging the Glove’s Pocket
The pocket – the heart and soul of your baseball glove. Take a moment to focus on this crucial area. Using your fingertips, gently massage the pocket, molding it to perfection.
Picture your glove embracing the baseball, creating a snug and secure home. Give it the love and attention it deserves, ensuring your glove’s pocket becomes a cozy haven for those incoming fly balls.
Step 4: Shaping and Forming
Welcome to the sculpting studio, where we’ll transform your baseball glove into a masterpiece of form and function.
Prepare to shape and mold that leather, creating a tailor-made glove for your hand. It’s time to unleash your inner artist!
Forming the Pocket
The pocket of your glove is where the magic happens. It’s where you’ll cradle the ball with confidence and make those game-changing catches. To create the perfect pocket, gently cup the glove and press the leather together.
Imagine the glove conforming to your grip, creating a cozy nest for the ball to rest. Work your fingers around the pocket, ensuring it’s snug and secure, ready to embrace every catch that comes your way.
In addition to taking care of your bat, the condition of your baseball glove is paramount.
You might be wondering “How to Clean the Inside of a Baseball Glove?” since it’s essential for maintaining a comfortable and hygienic fit. Cleaning the inside of your glove not only prolongs its life but also prevents the build-up of unpleasant odors and bacteria.
Shaping the Finger Stalls
Now, let’s give some attention to the finger stalls. Each finger needs its little haven within the glove. Hold the glove open and insert your fingers into the stalls. Use your other hand to press and gently shape the leather around each finger.
Feel the glove hugging your digits, providing them with the perfect balance of flexibility and support. Adjust the stalls until they fit like a second skin, ensuring maximum control and comfort.
Utilizing Glove Mallets or Balls
In our quest for glove greatness, we have some trusty tools. Enter the glove mallets or balls. These magical devices help us refine the shape and form of our gloves.
Use the mallets or balls to gently tap and shape the pocket, finger stalls, and overall glove structure.
Imagine yourself as a sculptor, delicately molding the leather to your desired specifications. Take your time, make adjustments, and revel in the joy of transforming your glove into a personalized work of art.
Step 5: Conditioning and Softening
Prepare to pamper your glove like never before as we dive into conditioning and softening.
Get ready to unleash the secret ingredients that transform your leather companion into a buttery-soft, game-ready powerhouse. It’s time to indulge in some glove spa therapy!
Using Leather Conditioner
This magical elixir will breathe new life into your glove, rejuvenating worn-out fibers. Apply a small amount of conditioner to a clean cloth and lovingly massage it into the leather.
Picture the conditioner seeping into the pores, restoring the glove’s moisture and suppleness. Your glove will thank you with a newfound radiance and a buttery-soft touch.
Additional Methods for Softening the Glove
If you’re feeling adventurous, there are additional methods you can explore to give your glove that extra edge. Some glove enthusiasts use natural oils like neatsfoot or coconut oil to condition the leather.
Research and test these methods on a small, inconspicuous area before applying them to the glove.
Remember, the goal is to achieve a perfect balance of softness and durability.
Speeding Up the Break-in Process
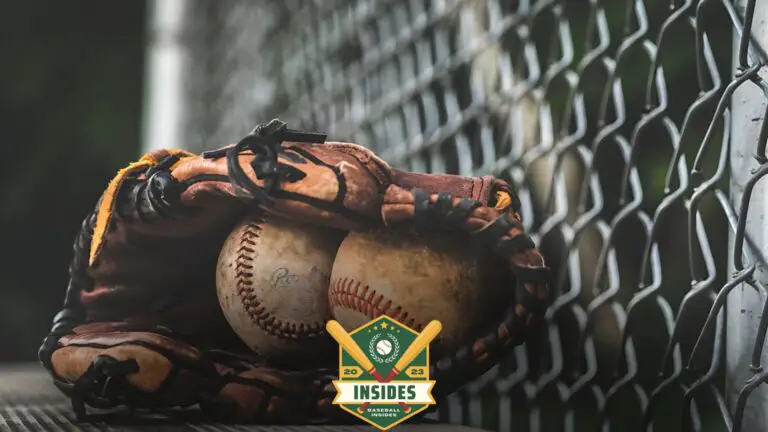
Are you impatient to get your glove game-ready in record time? Here’s a little trick you can try. After conditioning the leather, place a baseball or a softball in your glove pocket.
Secure it tightly using rubber bands or a glove mallet. Leave it like this overnight, allowing the ball to help shape the pocket and speed up the break-in process. It’s like turbocharging your glove’s transformation!
Step 6: Repeating the Process
Congratulations, glove aficionado! You’ve come a long way on this exhilarating journey of breaking in your baseball glove. But the quest for perfection doesn’t end here.
Step 6 is about fine-tuning and repeating the process to ensure your glove reaches its full potential.
Let’s dive back into glove care and take your masterpiece to greater heights!
Evaluating the Glove’s Progress
Take a moment to evaluate how far your glove has come. Has it achieved the desired softness and flexibility? Is the pocket snug and secure? Assess its progress and identify any areas that may still need attention.
This is your chance to fine-tune and make necessary adjustments before moving forward.
Repeating the Conditioning and Softening Steps
Don’t hesitate to repeat the previous steps if your glove could benefit from additional conditioning and softening.
Apply another round of leather conditioner and work it into the leather, focusing on any areas needing extra love.
Remember, perfection takes time, and your dedication will ultimately pay off.
Continuing to Work the Glove
Like before, continue working the glove by flexing, bending, and shaping it to your liking. Pay attention to any stiff areas that still need coaxing and give them some extra attention.
The goal is to achieve a glove that feels like an extension of your hand, providing ultimate comfort and control on the field.
Testing and Adjusting
Now it’s time for some field testing! Take your glove out for a practice session or a friendly game. Pay close attention to how it performs. Is the pocket secure? Are the finger stalls comfortable? Assess its performance and make any necessary adjustments.
It’s all about finding that sweet spot where your glove becomes an extension of your skills and enhances your performance.
Remember, breaking in a baseball glove is a journey, and it’s perfectly normal to repeat certain steps to achieve glove greatness.
Embrace the encore and take pride in your dedication to creating the perfect glove. With each repetition, your glove will only get better and better.
Finalizing the Break-In Process
Congratulations, fellow glove connoisseur! You’ve reached the grand finale of the break-in process, where we put the finishing touches on your glove masterpiece.
It’s time to unlock its true potential and prepare it for the thrilling moments on the baseball field. Get ready to witness the transformation of your glove into a game-changer!
Fine-tuning the Fit
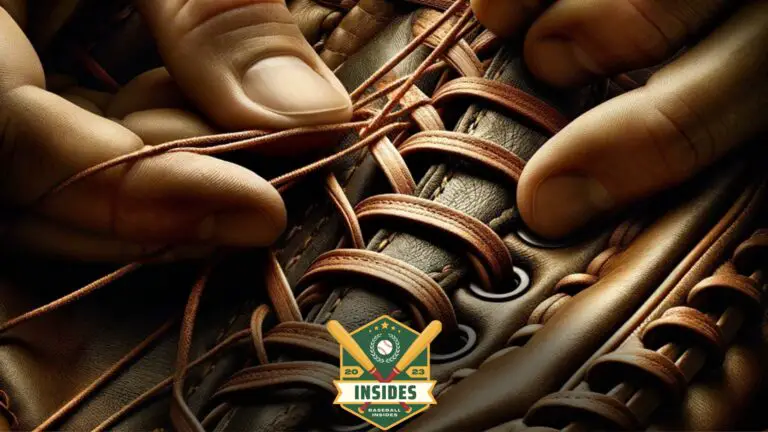
Now that your glove has gone through the break-in journey, it’s time to ensure a perfect fit. Pay attention to the strap or lacing system of your glove.
Adjust it to your desired tightness, finding that sweet spot where your glove feels snug and secure on your hand. Customization is the key to a glove that is made exclusively for you.
Personalizing Your Glove
Let’s add a touch of personality to your glove. Consider adding your name or initials to make it uniquely yours. You can use leather stamping tools or seek the help of a professional to achieve a clean and stylish look.
Personalizing your glove adds a touch of flair and establishes a special bond between you and your trusted companion.
Breaking It in Naturally
While you’ve gone through the break-in process, it’s important to remember that using your glove in real-game situations is where the true magic happens.
Every catch, every play, and every game will continue to shape and mold your glove, making it truly yours.
So get out there and embrace the opportunity to let your glove evolve with you on the field.
Maintaining and Caring for Your Glove
Proper care and maintenance are essential to ensure your glove’s longevity and optimal performance. Regularly clean your glove, remove dirt, and apply a leather conditioner to keep it supple.
Store it in a cool, dry place and avoid exposure to extreme temperatures. Treat your glove with respect, and it will reward you with years of outstanding performance.
Moreover, for right-handed hitters keen on improving their batting technique, mastering “How to Hold a Baseball Bat Right Handed?” is fundamental. The right grip and stance can significantly influence your batting performance, making this knowledge indispensable.
FAQs
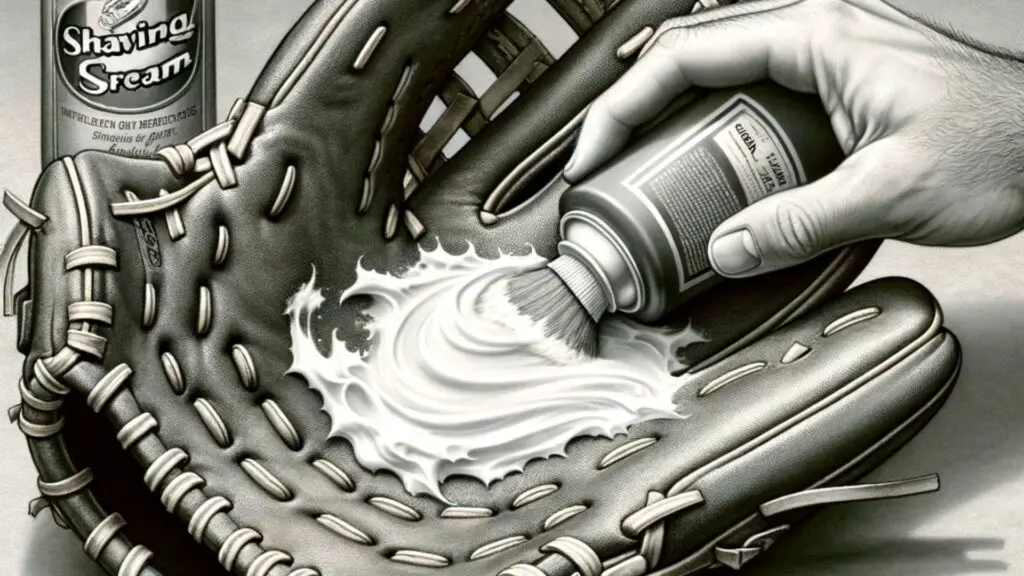
How Do You Shave a Baseball Glove?
To shave a baseball glove, apply a thin layer of shaving cream to the glove’s surface. Using a clean cloth or sponge, gently rub the shaving cream into the leather, focusing on more flexible areas.
Once the cream is applied, let it sit for a few minutes to allow it to penetrate the leather. Then, gently brush or wipe off any excess shaving cream using a soft brush or cloth.
Repeat this process as needed until the glove reaches the desired level of softness. Remember to handle the glove carefully throughout the process to avoid damage.
How Do You Break in a Glove?
There are several methods you can try to break in a glove. One common approach is to play catch with a friend using the glove, as the repeated ball impact helps loosen the leather.
Another method involves applying a small amount of glove oil or conditioner to the glove, which helps soften the leather and make it more flexible.
You can also use a mallet or your hands to pound or flex the glove repeatedly, working it into the desired shape.
Additionally, leaving a ball or a softball inside the pocket of the glove when not in use can help maintain its shape and speed up the breaking-in process.
Remember to be patient and give your glove time to mold to your hand and become more comfortable over time.
Can You Use Shaving Cream on a Glove?
Yes, shaving cream can be used on a glove to help break it in. The shaving cream is a lubricant and softener, making the leather more pliable and accelerating the breaking-in process.
Applying a generous amount of shaving cream to the glove and massaging it into the leather can help soften the material and make it more flexible.
However, it’s important to note that shaving cream should be used sparingly and cautiously to avoid over-saturation or potential damage to the glove.
It’s always a good idea to test a small area first and gradually increase the amount if necessary.
Conclusion
In the quest to achieve that perfect baseball glove, players and enthusiasts have tried countless methods to break it in and mold it to their liking.
While traditional approaches like playing catch and oiling the glove have been around for ages, the idea of using shaving cream might sound like a wild pitch.
However, as odd as it may seem, shaving cream has proven to be an unexpected game-changer for breaking in a baseball glove.
By applying a generous amount of shaving cream and massaging it into the leather, the cream helps soften the material and accelerate the breaking-in process.
Give it a try, and who knows, maybe the shaving cream technique will become your secret weapon for achieving that perfect glove fit, making you feel like a pro on the field. So, lather up, break in that glove, and get ready to catch some dreams!
The chemical composition of the cream and its lubricating properties work like a curveball, making the glove more supple and ready for action.
So, next time you find yourself with a brand-new glove, don’t hesitate to swing at this unconventional method.
Give it a try, and who knows, maybe the shaving cream technique will become your secret weapon for achieving that perfect glove fit, making you feel like a pro on the field. So, lather up, break in that glove, and get ready to catch some dreams!